
recipes that taste like home
Indulging in the world of baking can be a truly rewarding experience. And what better way to embark on this culinary adventure than by creating a sumptuously airy and flavourful 18-hour focaccia? This classic Italian bread, with its golden-brown crust, has captured the hearts of food enthusiasts worldwide.
The secret to the perfect focaccia does not lie in the ‘perfect technique’ but lies in ‘time’. Time to rest and build its structure.
**Why Choose the 18-Hour Method?**
The secret behind achieving that coveted bubbly texture and robust flavour in your focaccia lies in the extended fermentation process. Allowing the dough to ferment for 18 hours not only enhances its flavour profile but also develops its structure, resulting in a light, airy interior and a delightfully crisp crust.
**Ingredients You’ll Need:**
Before diving into the process, gather these essential ingredients:
– 500g plain flour (just the cheap stuff will do!)
– 400ml lukewarm water
– 10g salt
– 8g active dry yeast
– Lots of extra-virgin olive oil
**Step-by-Step Instructions:**
1. **Mixing and Kneading:**
Weigh each of the ingredients exactly with scales. In a large mixing bowl, combine all the ingredients by hand. This will be really sticky but that’s ok. Once it’s well combined, remove as much dough from your hands as possible then cover the bowl of dough with damp (not wet) tea towel.
2. **First Rest (Autolyse):**
Let the dough rest on your bench for 20-30 minutes. This autolyse phase allows the flour to fully hydrate and the gluten to develop.
3. **Stretch and Fold:**
Perform a series of 3 stretch-and-fold techniques every 20 minutes, so 3 times within one hour. To stretch-and-fold, gently stretch one side of the dough and fold it over the centre. Rotate the bowl and repeat for four sides. After your last stretch-and-fold, cover the dough with a drizzle of olive oil and let the dough sit on the bench covered with the damp tea towel for a further 20 minutes.
4. **Long Fermentation:**
Then transfer the dough to the pan you plan on cooking your focaccia in. I like to line the bottom of my staub pan with baking paper to avoid the heartache of dough sticking but you could use a non-stick pan instead. Cover the pan with a lid or cling wrap, and place into the fridge for 16-18 hours. This slow fermentation is key to achieving the desired texture and flavour.
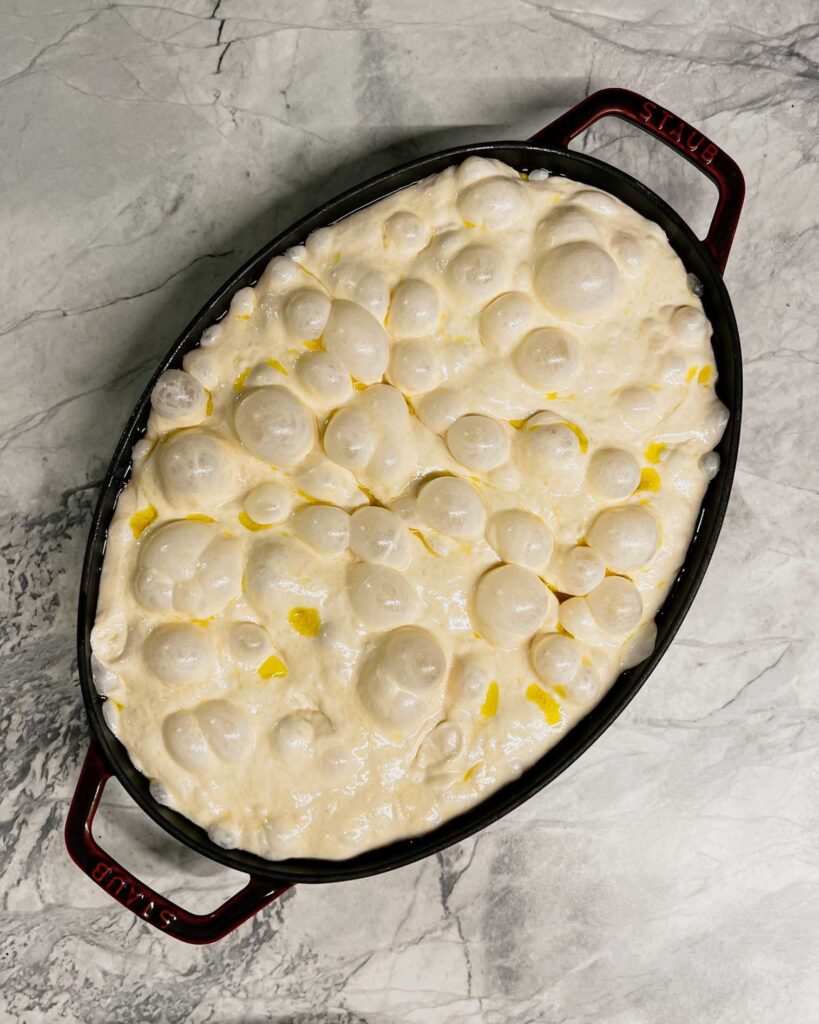
5. **Shaping and Final Proof:**
Take the dough out of the refrigerator and let it come to room temperature for about an hour. Cover it and let it rest for 1-2 hours, allowing it to rise.
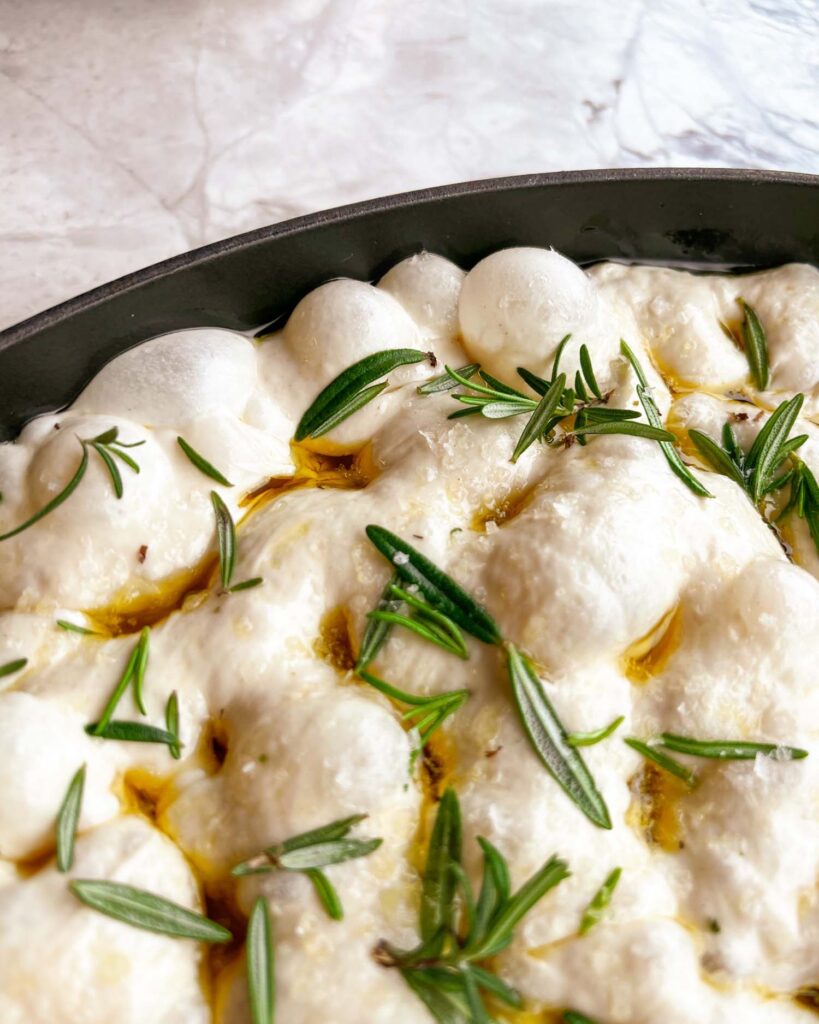
6. **Toppings and Baking:**
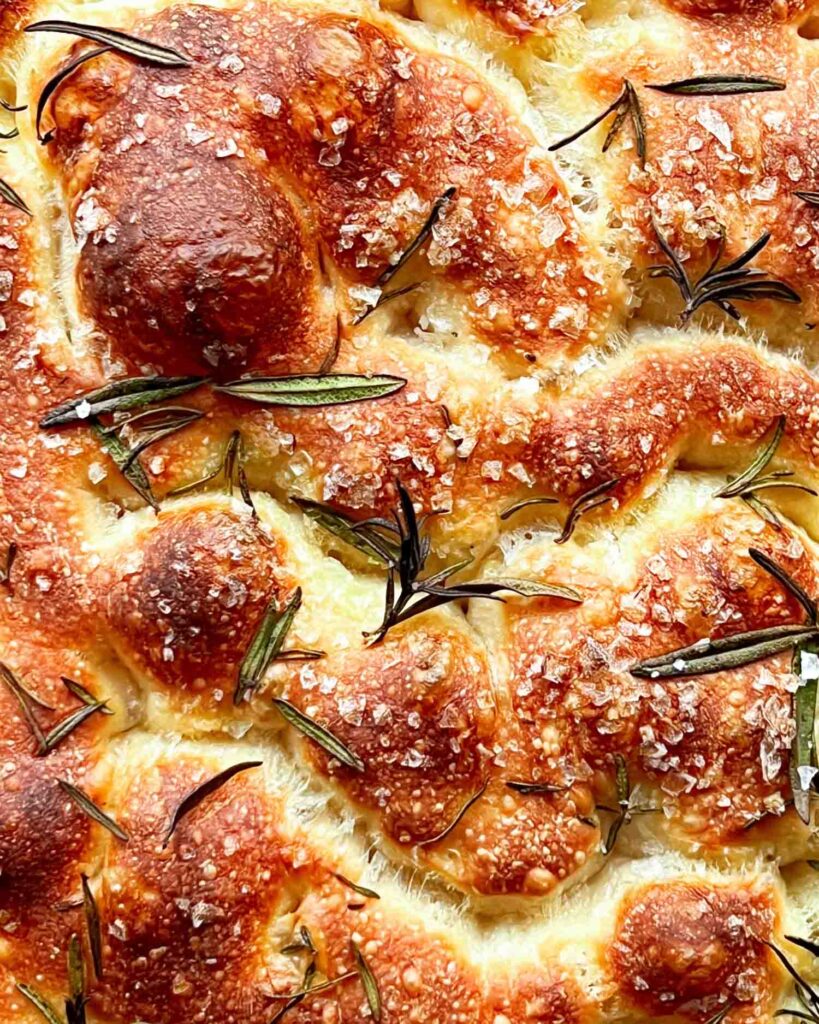
Preheat your oven to 220°C. Press your fingertips a couple of times into the dough to create dimples. I only like to do this a little bit because I love the big bubbles you see after the long fermentation. Drizzle olive oil very generously over the top and sprinkle your choice of seasonings. I always add lots of sea salt flakes and usually some rosemary from my garden but you can add what you like and have on hand. My only warning here is not to add too many toppings because they will weigh the focaccia down and it won’t be thick and bouncy once it’s finished cooking.
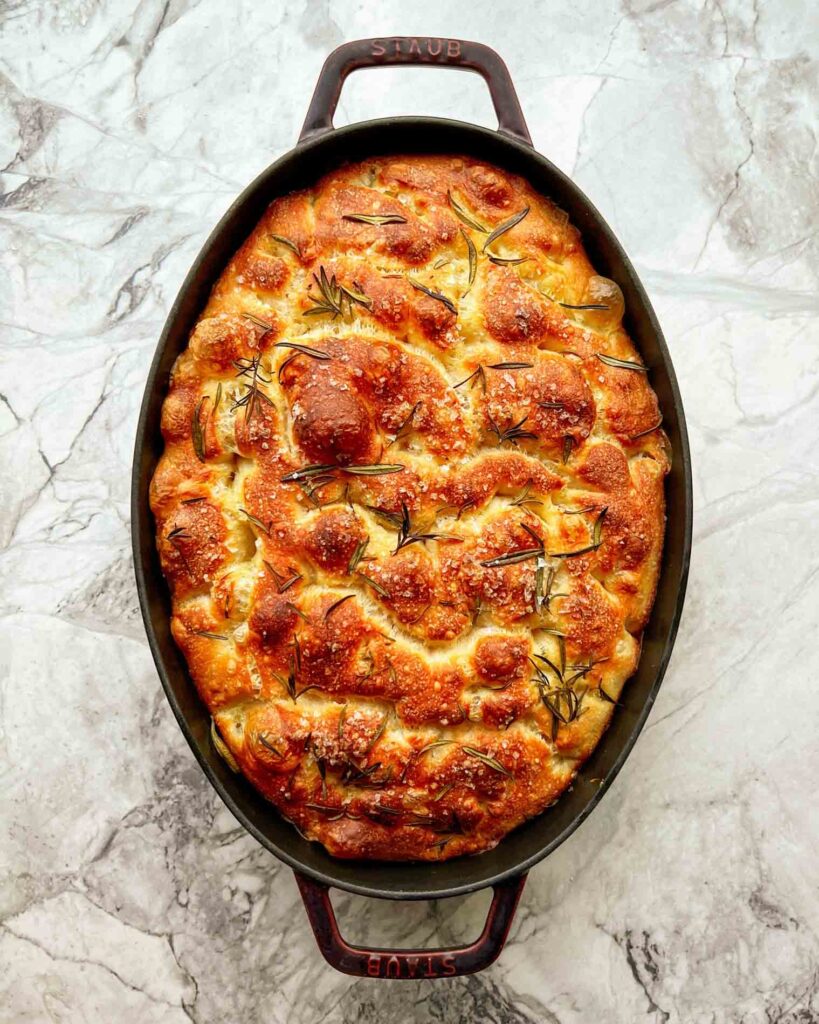
7. **Baking to Perfection:**
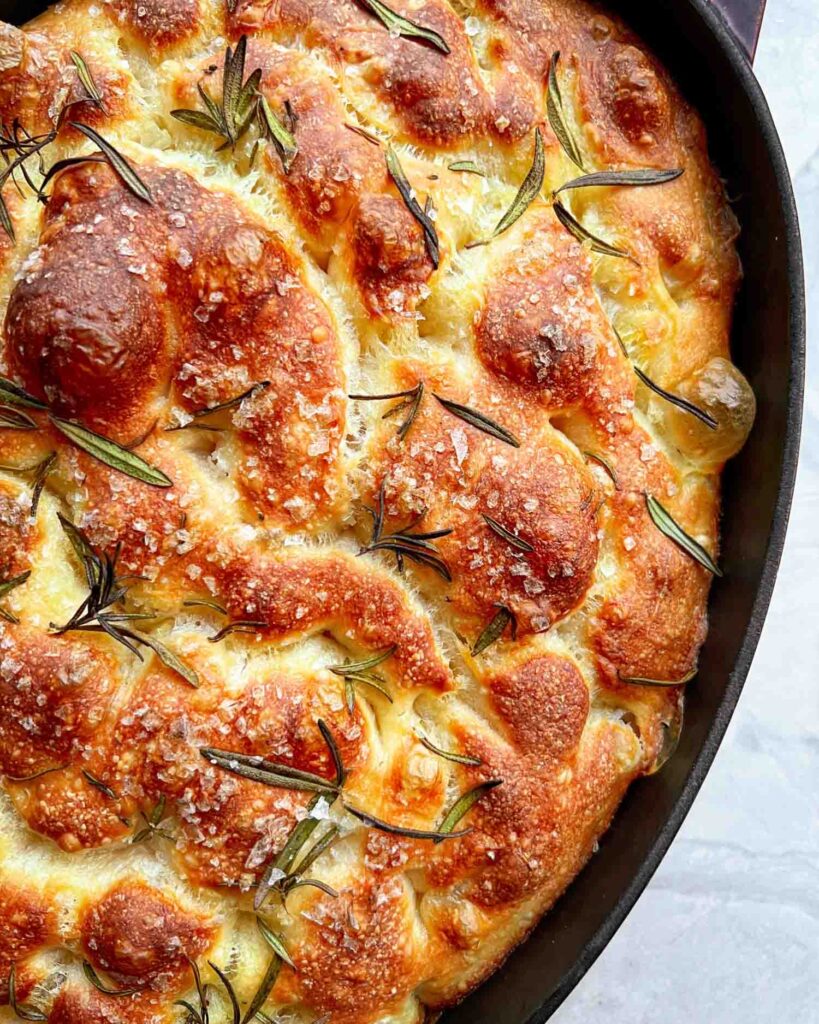
Place the pan in the preheated oven and bake for 25-30 minutes or until the focaccia turns a deep gorgeous golden brown. I personally love the 28 minute mark in my oven!
8. **Savouring Your Creation:**
Once baked, remove the focaccia from the oven and let it cool slightly. Cut into generous squares and serve it warm. Whether enjoyed on its own, dipped in olive oil and balsamic vinegar, or used as a sandwich base, your 18-hour focaccia will be an absolute delight.
Embarking on the journey of crafting an 18-hour focaccia is an experience that combines patience, passion, and the joy of creating something truly extraordinary. The resulting airy crumb and crisp crust are a testament to the power of time and technique in the world of baking. So, roll up your sleeves, gather your ingredients, and let the magic of fermentation work wonders in your kitchen. Get ready to savour each delectable bite of your homemade, perfectly bubbly 18-hour focaccia! Happy cooking! Mel x